Selecting and editing
This chapter shows how to pick civil objects, change them with grips and the familiar CAD edit commands, and how everything linked to them follows by itself. You'll also learn to undo to any step with the visual history, and to find any command or object in a second with the command palette and the command line.
Selecting civil objects
In Terrace, a civil object — a surface, an alignment, a corridor, a pipe network — is drawn as many ordinary lines, arcs and labels. You don't pick those pieces one by one: a click on any part of an object selects the whole object, all its graphics at once. A selection window or crossing window that touches an object's graphics does the same.
There are three ways to select one:
- Click it in the plan.
- Click it in the Project browser. This is the easiest way when objects overlap. Double-click to also zoom to it.
- By name: the command palette (⌘K, type the name, Enter selects and zooms) or
CIVILSELECTon the command line.
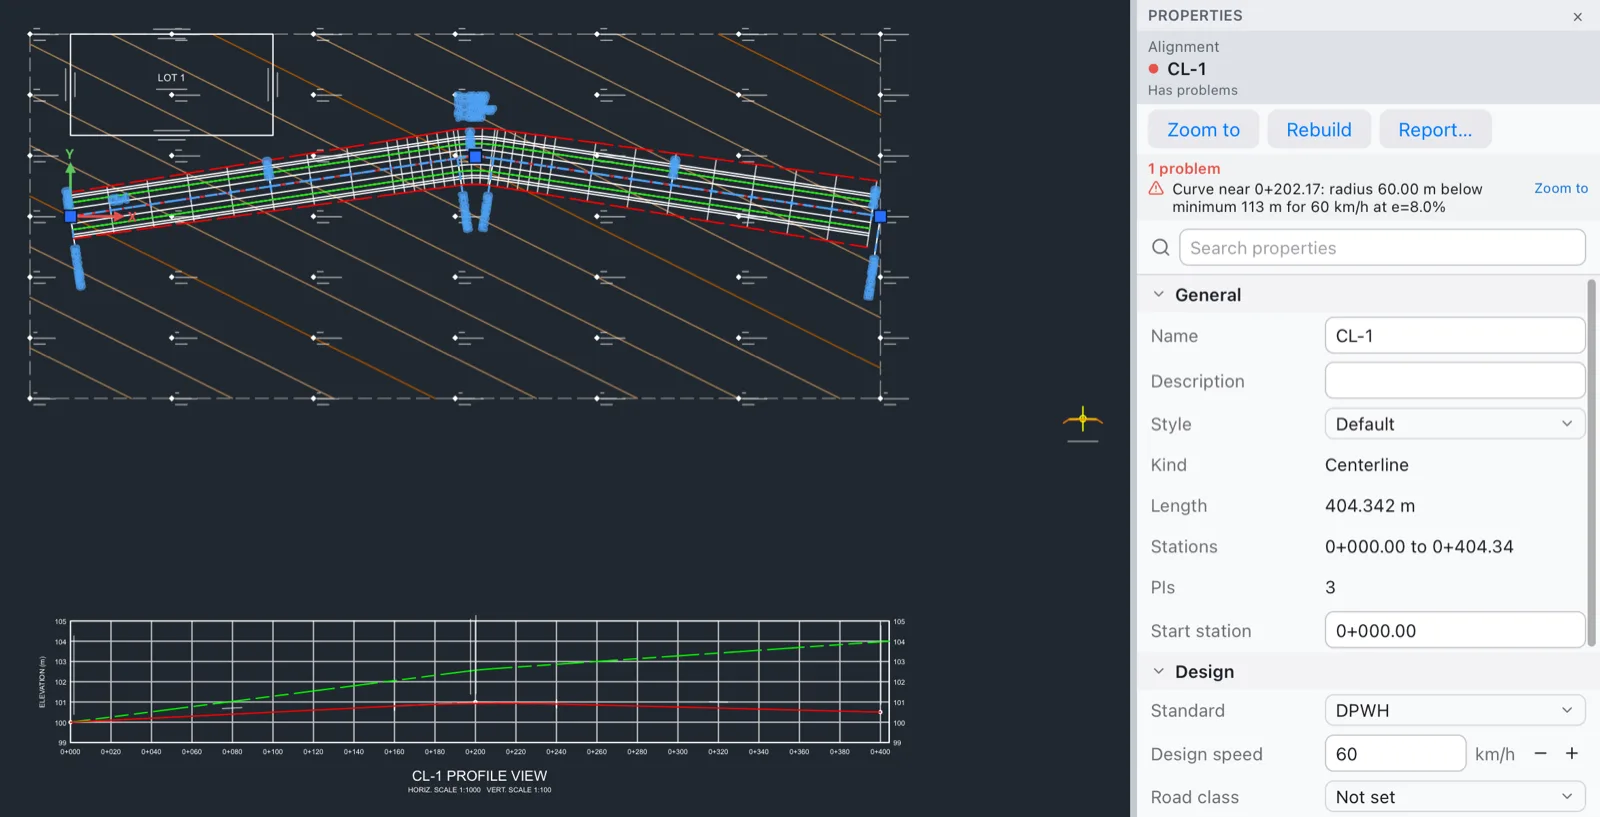
When the selection is one civil object, the Properties panel shows its fields, and for an alignment, profile, corridor or surface its contextual ribbon tab opens. Press Esc to clear the selection.
Grips and live updates
A selected civil object shows grips: small squares (and circles and triangles for some kinds) at the points you can drag. Drag one and Terrace rebuilds what depends on it as you move, so you see the result before you let go.
| Object | Grips |
|---|---|
| Alignment | Each PI; each curve's radius |
| Profile view | Each PVI of the design profiles drawn in it; each vertical curve's length; the view's origin |
| Feature line, catchment | Each vertex |
| Pipe network | Each structure |
| Parcel site | Each corner, and each parcel's label |
| Point | The point |
| Assembly, profile view, section views, mass haul | The origin, to move it |
| View frames | Each frame |
- Select the object.
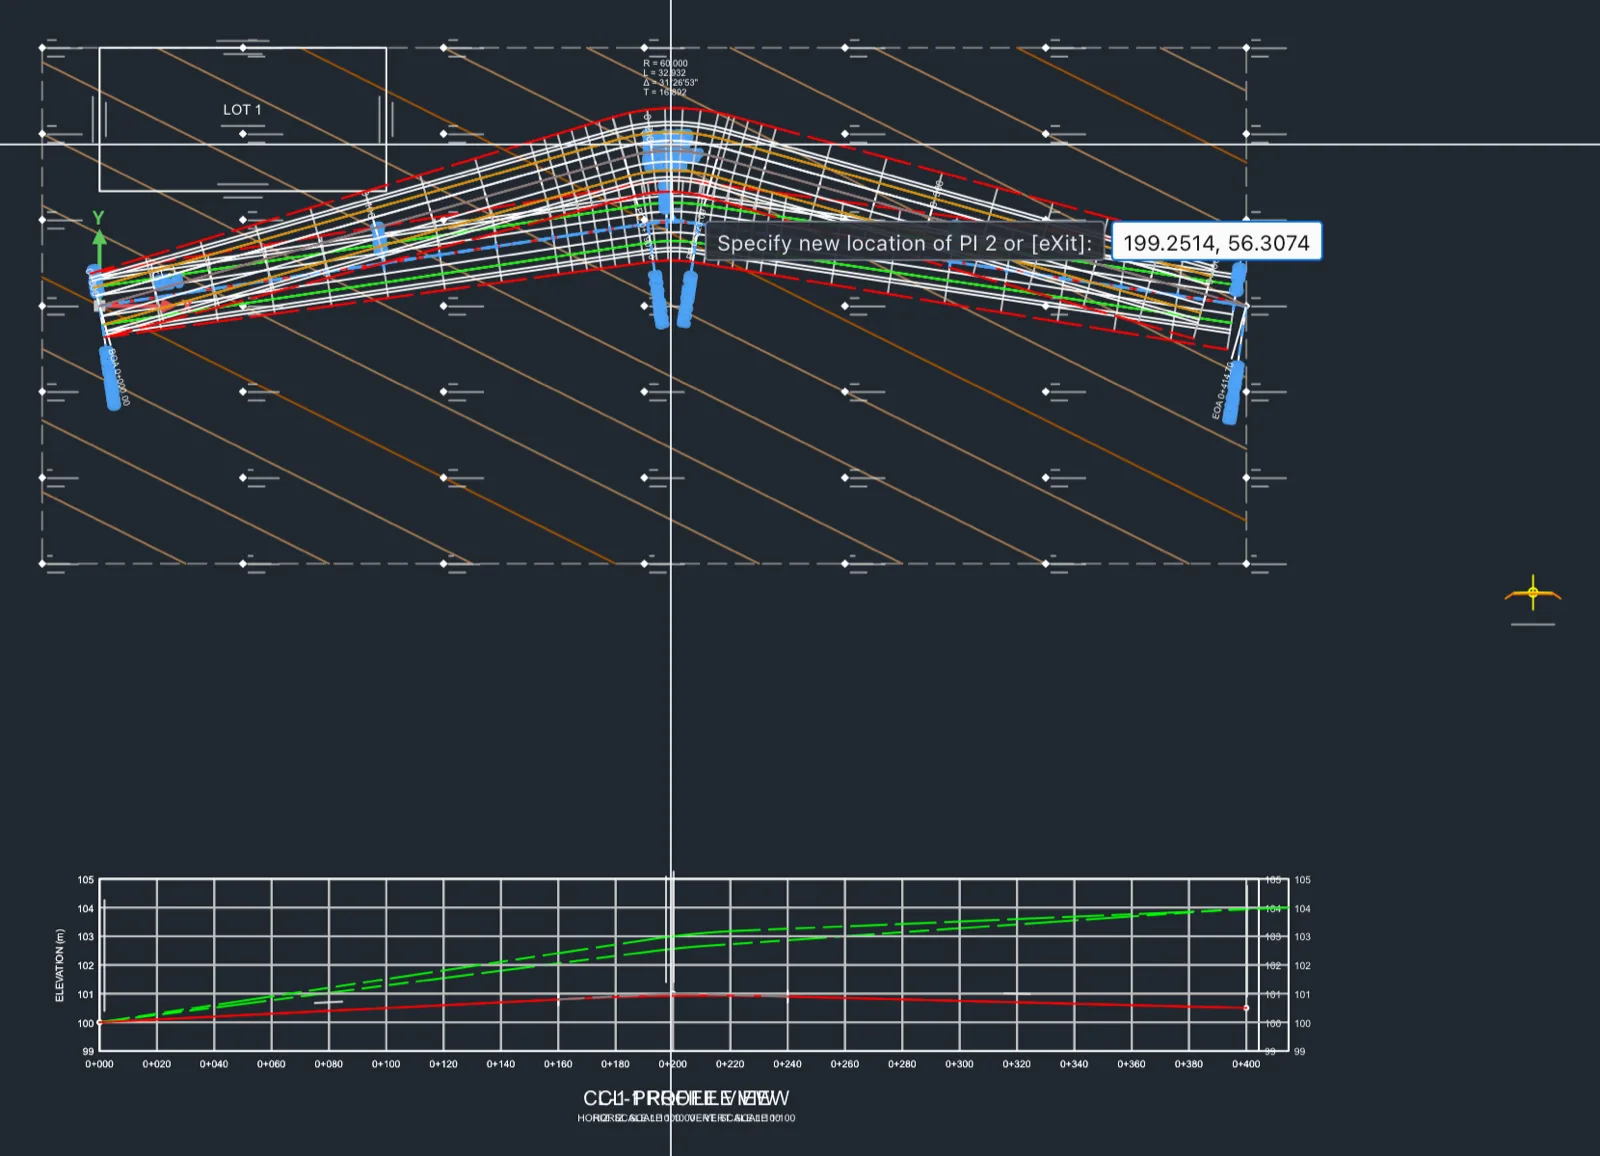
- Click a grip (you don't need to hold the button). The command line names it, ** PI 2 **, and asks Specify new location of PI 2 or [eXit]:.
- Move the cursor. The alignment, its curves, the profiles, the corridor and everything else that depends on it redraw as you go. On a big project Terrace skips frames to keep up.
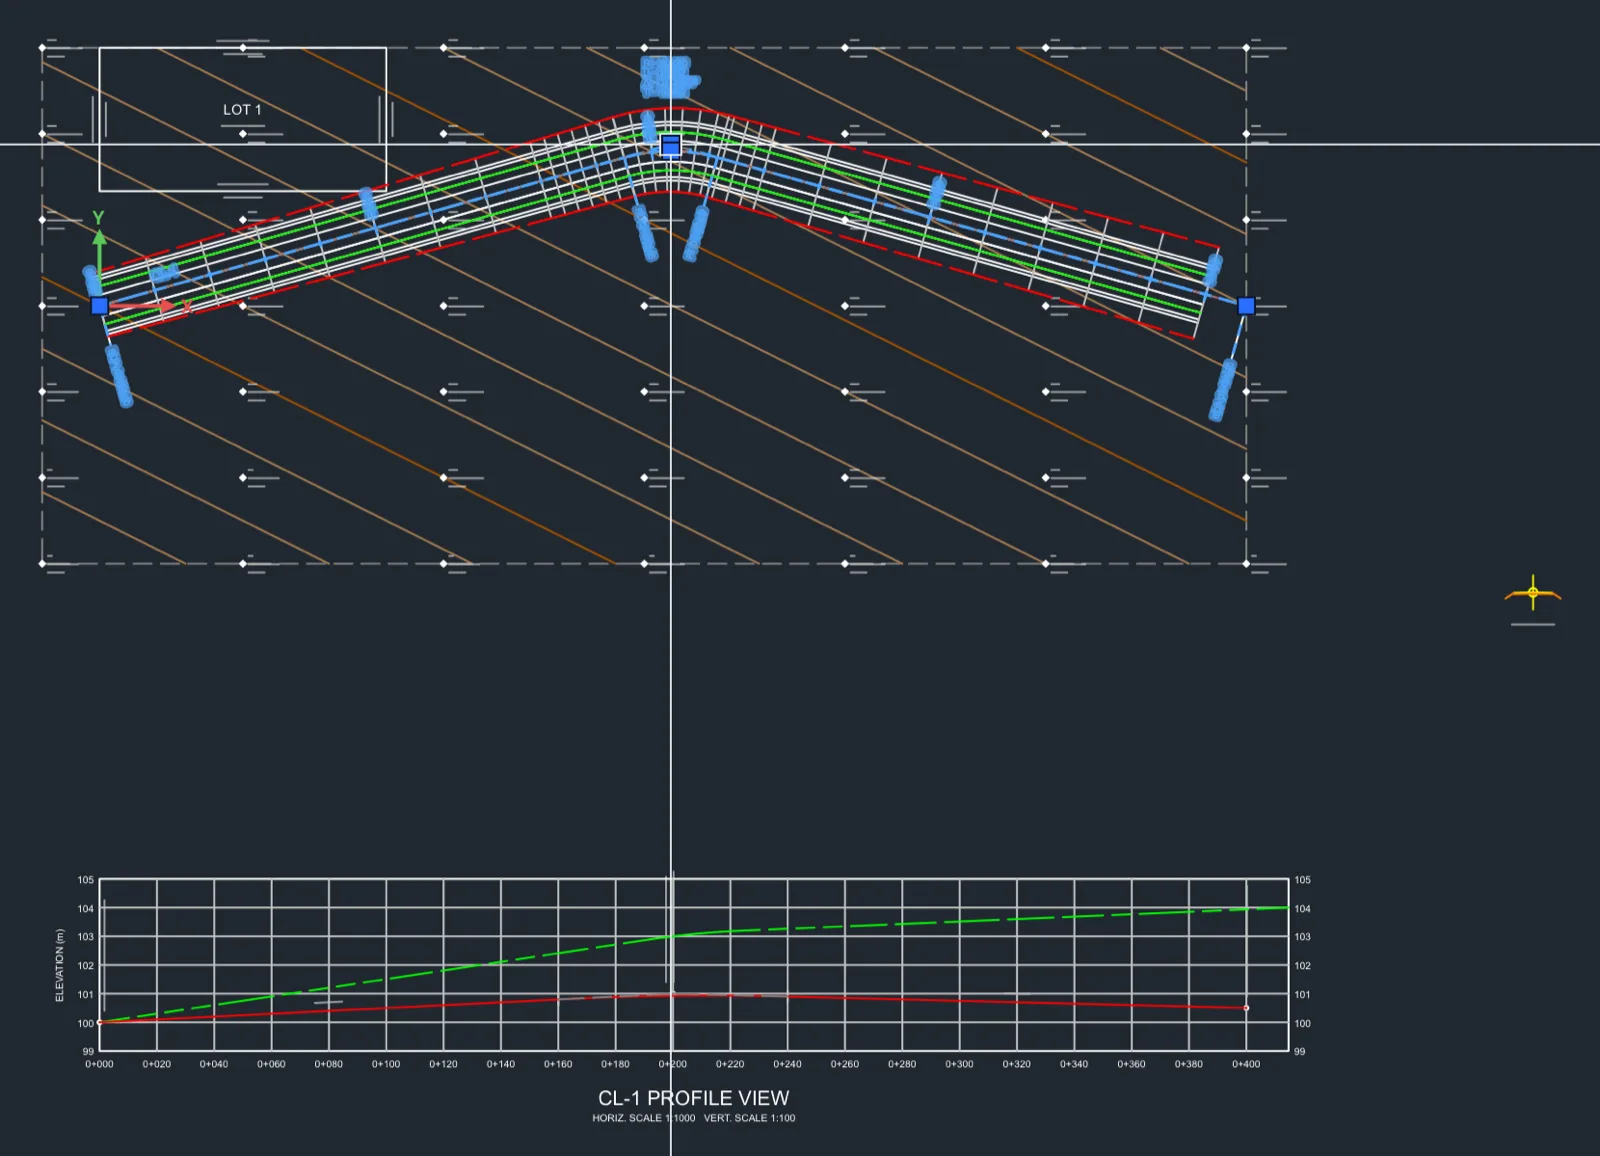
- Click to put the grip down. The whole change is one undo step, named Grip Edit. Press Esc (or
Xfor eXit) instead to leave things as they were.
A curve radius grip or a vertical curve length grip also takes a typed value: the prompt says Specify new curve radius at PI 2 or type the radius, so you can type 250 and press Enter. If a value doesn't fit (a radius too big for the tangents), the command line says Value must be positive and fit the neighbors.; a place a grip can't go gives That grip can't go there. Objects on a locked layer say Object is on a locked layer.
Tip Grips appear when you select up to 100 objects, and a civil object counts as one however many lines and labels draw it. So a full-length road like the sample's Teresa Bypass CL shows its PI and radius grips as soon as you click it.
Live updates everywhere
Grips aren't the only edit that ripples through. Whenever a command, a dialog or a Properties field changes the project, Terrace brings every dependent object up to date and redraws it before you see the result. If you edit a plain polyline that a corridor uses as a target, or a polyline a surface uses as a breakline, the corridor or surface follows too. The status bar shows how long the last update took (Updated 5 objects, redrew 5 in 31 ms).
Objects that are locked, or set to rebuild by hand, wait instead: their status dot turns amber and the status bar lists them. Rebuild them with CIVILREBUILD or Rebuild in their menu.
Move, copy, rotate, mirror and erase
The usual CAD commands work on civil objects: MOVE (M), COPY (CO), ROTATE (RO), MIRROR (MI) and ERASE (E). They're on the Draft tab and in the Modify menu. They act on the object, not just on its graphics, so the result stays a real, linked civil object.
What moves, and what doesn't
| Object | MOVE / ROTATE / MIRROR | COPY |
|---|---|---|
| Point | Moves its northing and easting (not if the point is locked) | A new point with the next number |
| Alignment | Moves its PIs and curves; offset alignments and curb returns that follow it move with it | A new alignment named CL-1 (2); a copy of an offset alignment stands on its own |
| Profile view, assembly | Moves the view or the assembly's origin | A new view or assembly |
| Feature line, catchment, pipe network, pressure network, parcel site | Moves the vertices, structures, fittings, boundary or lot lines | A new object with a new name |
| View frames | Moves the frames | Refused: make another group with VIEWFRAMES |
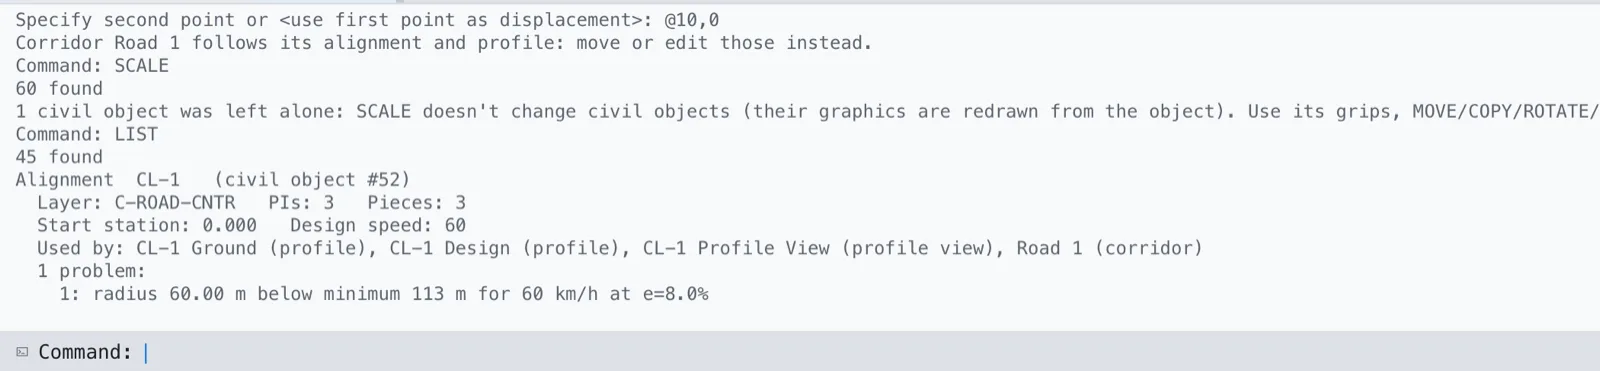
Objects that are built from others can't be moved by themselves; the command line says what to move instead and leaves them alone:
- Surface EG is built from its data: move its points or breaklines instead.
- Corridor Road 1 follows its alignment and profile: move or edit those instead.
- Profile … is drawn in its profile views: move the view, or drag its PVI grips. (Moving the profile view together with it is fine.)
- Sample lines … follow their alignment: drag the section views' grip to move the views.
- Grading … follows its feature line: move the feature line instead.
- … follows …: move that alignment instead. for an offset alignment moved on its own.
Each MOVE, COPY, ROTATE or MIRROR is one undo step, and everything that depends on the moved objects is rebuilt.
Erase, and what depends on it
Erasing an object that others are built from would break them, so Terrace tells you first.
- Select the object (say the EG surface) and type
ERASE(orE). - If other objects use it, the command line lists them — These depend on what you're erasing: CL-1 Ground (profile), CL-1 Profile View (profile view), Road 1 (corridor). — and asks Erase them too? (No keeps them, without the link) [Yes/No/Cancel] <No>:.
- Answer
Yto erase them too,N(or Enter) to keep them without the link to the erased object, orCto erase nothing.

Points never ask: whatever uses them simply rebuilds without them. The command line ends with what was erased, for example 1 civil object erased, with 3 that depended on it. Undo brings it all back. Delete in the browser's object menu does the same with a dialog.
Edits that refuse
Other drafting edits — TRIM, EXTEND, STRETCH, SCALE, EXPLODE, OFFSET, FILLET, BREAK, JOIN, PEDIT, MATCHPROP, CHPROP, text and hatch edits, BLOCK and the like — leave civil graphics alone. If your selection includes some, the command goes on with the plain drawing objects only and says so once:

The reason: civil graphics are redrawn from their object every time it changes, so an edit to the graphics would be lost. Copies made with ARRAY or by pasting are plain drawing objects (they lose the civil link).
Undo and redo
Every command, every Properties field and every dialog's OK is one undo step, however many objects it rebuilt. Undo puts the whole project back, linked objects included.
| To | Use |
|---|---|
| Undo | ⌘Z, Edit ▸ Undo … (named after the step), U or UNDO |
| Redo | ⇧⌘Z or ⌘Y, Edit ▸ Redo …, REDO |
| Go back several steps at once | The undo history |
The visual undo history
The undo history panel lists every step since you opened the drawing, so you can jump back to any of them.
- Choose View ▸ Undo History (menu bar or the ribbon's View tab), or find Undo History in the ⌘K palette.
- The panel opens at the bottom of the right side. The first row is Start (marked opened or new), then each step with its number. A ▶ and a tint mark where you are; steps you've undone are dimmed below it.
- Click a row to go to just after that step, in one go. Click Start to undo everything; click a dimmed row to redo up to it.
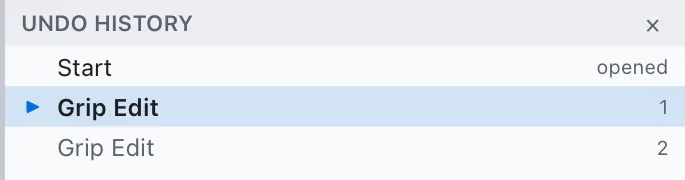
Note As in any editor, making a new change after undoing drops the dimmed steps.
The command palette (⌘K)
The command palette is the fastest way to find anything: a command, an object in the project, a report, or one of the window's own actions. You don't need to know where a button is or what a command is called.
- Press ⌘K anywhere (or View ▸ Command Palette…).
- Type a few letters. Terrace matches command names, aliases, titles and their help text, the names of the project's objects, and reports.
- Use ↑ and ↓ to pick a row and Enter to run it, or click it. Esc or a click outside closes the palette.
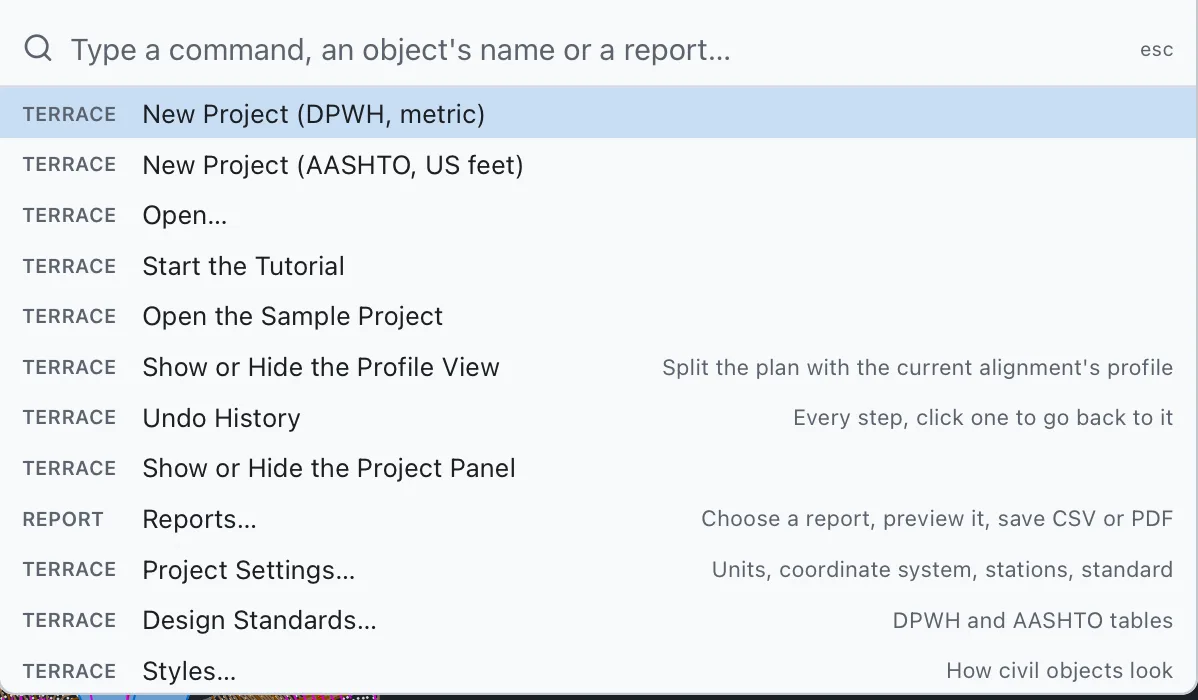
Each row is marked with what it is:
| Mark | What happens on Enter |
|---|---|
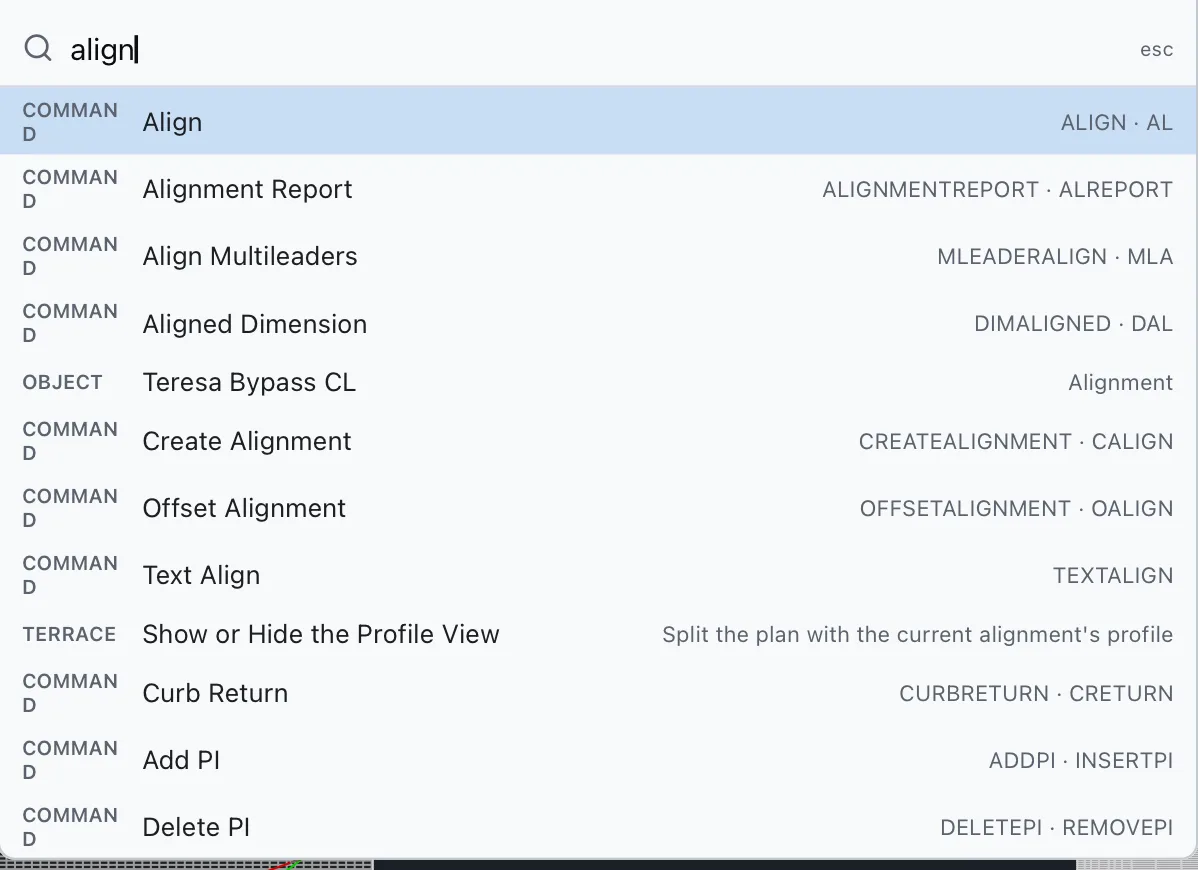
| COMMAND | Runs the command, as if typed (in a new project if none is open), so a create command asks on the command line and offers Dialog. The right side shows its name and first alias. |
| OBJECT | Selects the civil object and zooms the plan to it. The right side shows its kind. |
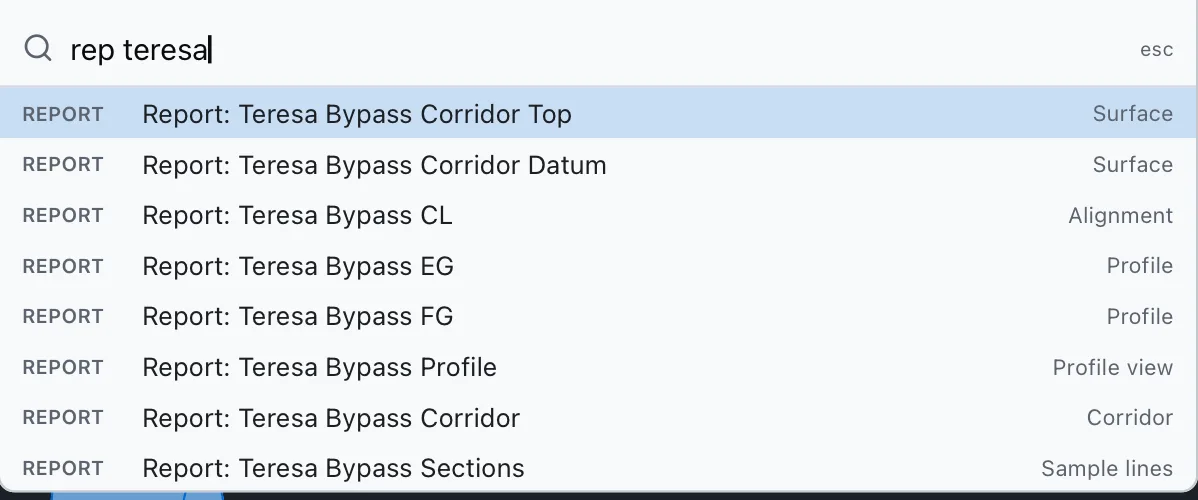
| REPORT | Opens the report dialog, for that object. Type rep and a name to list reports on matching objects. |
| TERRACE | One of the window's actions: new project, open, tutorial, sample, profile pane, undo history, Project panel, Project Settings, Design Standards, Styles, Save. |
The command line and aliases
If you know AutoCAD, the command line works as you expect. Type a command's name or alias anywhere in the window — no need to click the command line — and press Enter or Space.
- Aliases. Every civil command has short ones:
CALIGNforCREATEALIGNMENT,CSURFACEforCREATESURFACE,EGPROFILEforCREATEPROFILE,CUPforCIVILUPDATE. Hover a ribbon button to see its alias; the command reference lists them all, and Help ▸ Command List shows them in the app. - Suggestions. As you type, a list of matching commands and aliases opens above the command line. ↑/↓ pick one; Enter takes the highlighted one unless what you typed is already a command.
- The Dialog option. Typed, the civil create commands (
POINTGROUP,CREATESURFACE,CREATEALIGNMENT,CREATEPROFILE,DRAWPROFILE,CREATEPROFILEVIEW,CREATEASSEMBLY,CREATECORRIDOR,SAMPLELINES,CREATENETWORK,VIEWFRAMES) ask their questions on the command line, but their first prompt also offers Dialog: typeD(orDIwhen another option there starts with D) and the command closes and opens the same dialog as the ribbon button, for the selected object if there is one.GRADINGoffers it too;CREATEPARCELSdoesn't, since it starts by selecting objects (its ribbon button opens the dialog). - Prompts. A running command asks for what it needs: Specify first corner:, a value with its default in <>, or options in [ ]. Click an option, or type its capital letters (
Xfor eXit). - Enter or Space on an empty line repeats the last command. Esc cancels. With no command running, ↑/↓ walk back through what you typed before.
- F2 shows more lines of the command history; F1 opens the help, at the running command's page if one is running.
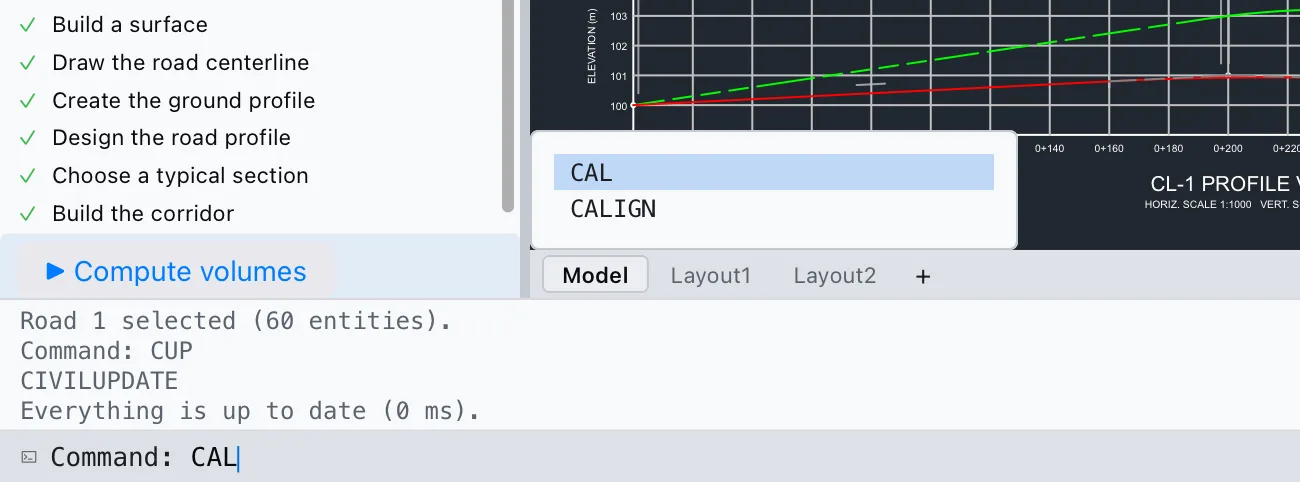
CAL: the suggestions include CALIGN.Civil core commands
Four commands work on any civil object. They're in the Civil group of the command reference.
CIVILUPDATE — bring everything up to date
CIVILUPDATE (CUP, also Sheets ▸ Update Now) checks every civil object against what it depends on, rebuilds and redraws what's out of date, and says what it did: Everything is up to date (0 ms). or Rebuilt 3, redrew 5 civil objects in 42 ms. Objects that wait for a manual rebuild are named: Waiting for CIVILREBUILD: …. You rarely need it, since updates run after every change, but it's there if something looks stale.

CUP on a project that's already up to date.CIVILREBUILD — rebuild now
CIVILREBUILD (CRB, also Rebuild on the Corridor tab) rebuilds the selected objects and everything that depends on them, even if they're locked or set to rebuild by hand. With nothing selected it asks Select civil objects to rebuild or [All]: click objects (each says … added; Enter rebuilds.) and press Enter, or choose All. Enter with nothing picked rebuilds everything. One undo step.
CIVILSELECT — select by name
CIVILSELECT (CSEL) asks Enter civil object name or [?]. Type a name to select that object (Road 1 selected (60 entities).), or ? to list every object with its kind and number.

CSEL, ? to list, then a name.LIST — a plain summary
LIST (LI) on a civil object prints a short summary in the command line: its kind and name, its main numbers, what it's built from and what it's used by, and its problems. Plain drawing objects in the same selection are listed as usual after it. Press F2 to read it all.